Fresh Goats Cheese Recipe

A quick, simple and delicious fresh goats cheese recipe. Made with milk from our small Devon flock, here at The Husbandry School. 

This spring we have seen a huge influx in goat milk along with the arrival of our kids. Phillip (yes, Phillip) one of our wonderful mother goats is producing too much milk for her little one to use and so we are milking her most days. All this extra bounty filling up our fridges has meant we have had to get cooking and crafting!

This recipe is the first of a collection of posts we will be making in the coming weeks about all the wonderful uses for goats’ milk. Stay up to date with everything we are doing on the land and in the kitchen at @thehusbandryschool on Instagram and Facebook!

For this recipe you will need:

Ingredients:

1 litres of goats milk (Use pasteurized for a more crumbly firmer cheese. Use unpasteurized for a creamier cheese.)

60ml Organic apple cider vinegar (with mother)

Sea salt (to taste)

Fresh herbs to taste (we used Dill and Chervil)

Tools: 

A large stainless steel pot

Food thermometer

Cheesecloth

Strainer

Wood or stainless steel spoon

Ramekins 

Method.

1- Heating the milk. 

Pour the milk into your pot.

On a low heat, slowly heat the milk until it reaches between 82 and 85 degrees Celsius. 

You don’t want the milk to boil, nor do you want it to scold on the bottom of the pot. When it has reached the right temperature the surface of the milk should have small bubbles and appear foamy. 

2- Forming curds.

Once the milk has reached the correct temperature, take the pot off the heat and add your vinegar. 

Giving your milk a quick stir, let it then sit undisturbed for 10 minutes. The curds should begin to separate from the whey, giving it a curdled lumpy texture. 

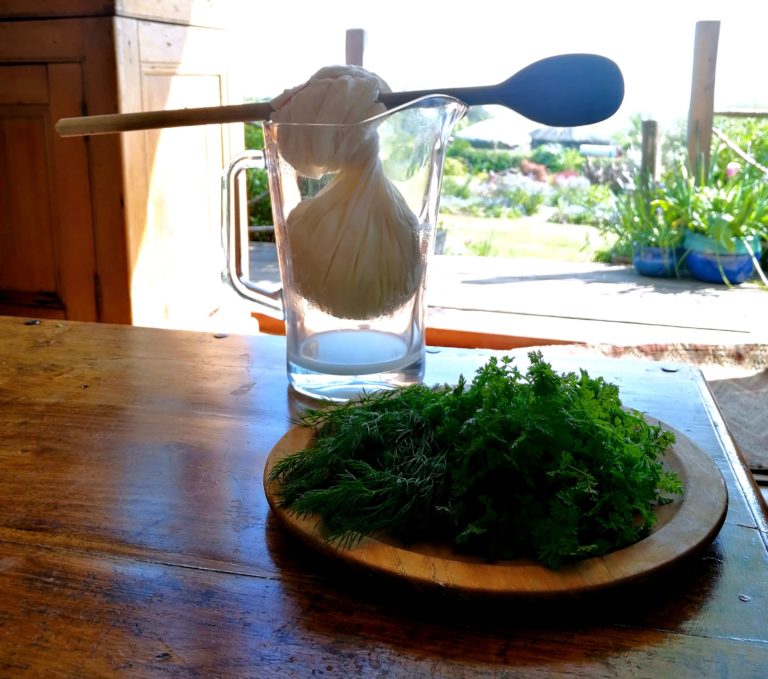
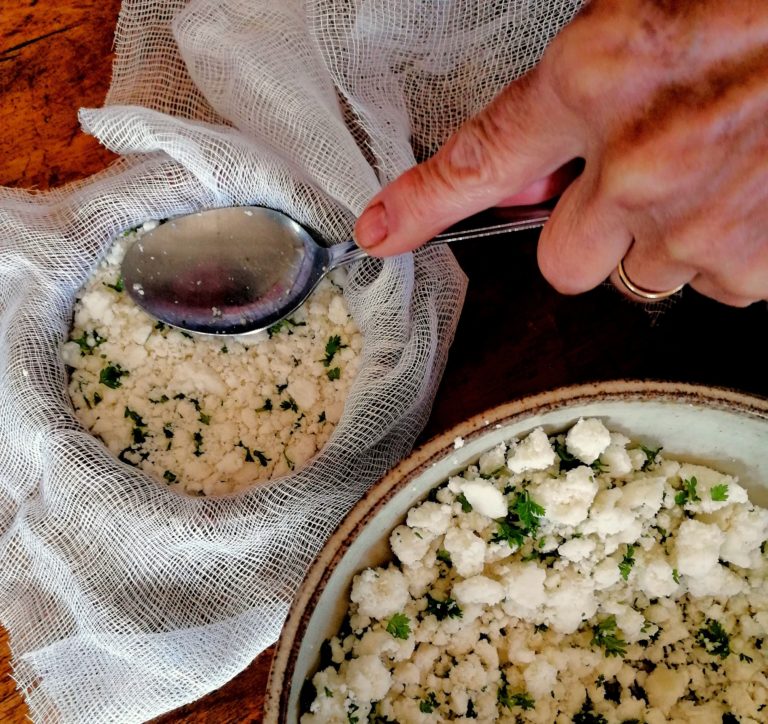
3- Separating the curds and whey.

Sitting your strainer over a bowl, drape several layers of cheesecloth over your strainer.

Pour the curdled goats milk over the cheesecloth, catching the curds within and the whey in the bowl beneath. 

(Goats whey has numerous uses and benefits as it is packed full of nutrients and vitamins, use it as a direct replacement for water when baking bread, spray onto the leaves of your garden plants to remove Powdery Mildew or use to wash your hair and face as a wonderful cleanser!)


4- Draining the curds

Pulling the cheesecloth up and over the curds, creating a bag shape. Tie this onto your wooden spoon securely and leave to drain over the bowl for 1-2 hours, before giving them a final squeeze and emptying them into a bowl. 

Whilst your curds are draining, finely chop any herbs you would like to add, and set aside. We used Chervil and Dill, but any seasonally herbs you prefer would be a delicious addition. 

Grind the sea salt until fine, and set aside. 

5 – Salting and flavouring

Massage the salt and herbs into the curds (to your taste), similar to if you were kneading dough. This encourages the curds to relax and become softer and creamier. 


6 – Shaping your cheese

Drape cheesecloth over your ramekins. 

Fill your ramekins with your curd mixture and press firmly into place. (We used a spoon and the bottom of a small bowl to apply pressure.)

7 – Finishing the cheese

Leave your pressed cheese to relax and cool in the fridge for a few hours. 

Grab some crackers, serve and enjoy! 

Let us know if you enjoyed this recipe over on Instagram at @thehusbandryschool or on facebook at The Husbandry School

Share on facebook
Share on twitter
Share on pinterest
Share on whatsapp
Share on facebook
Share on twitter
Share on linkedin
Share on email